
Your cart is currently empty!.
You may check out all the available products and buy some in the shop.
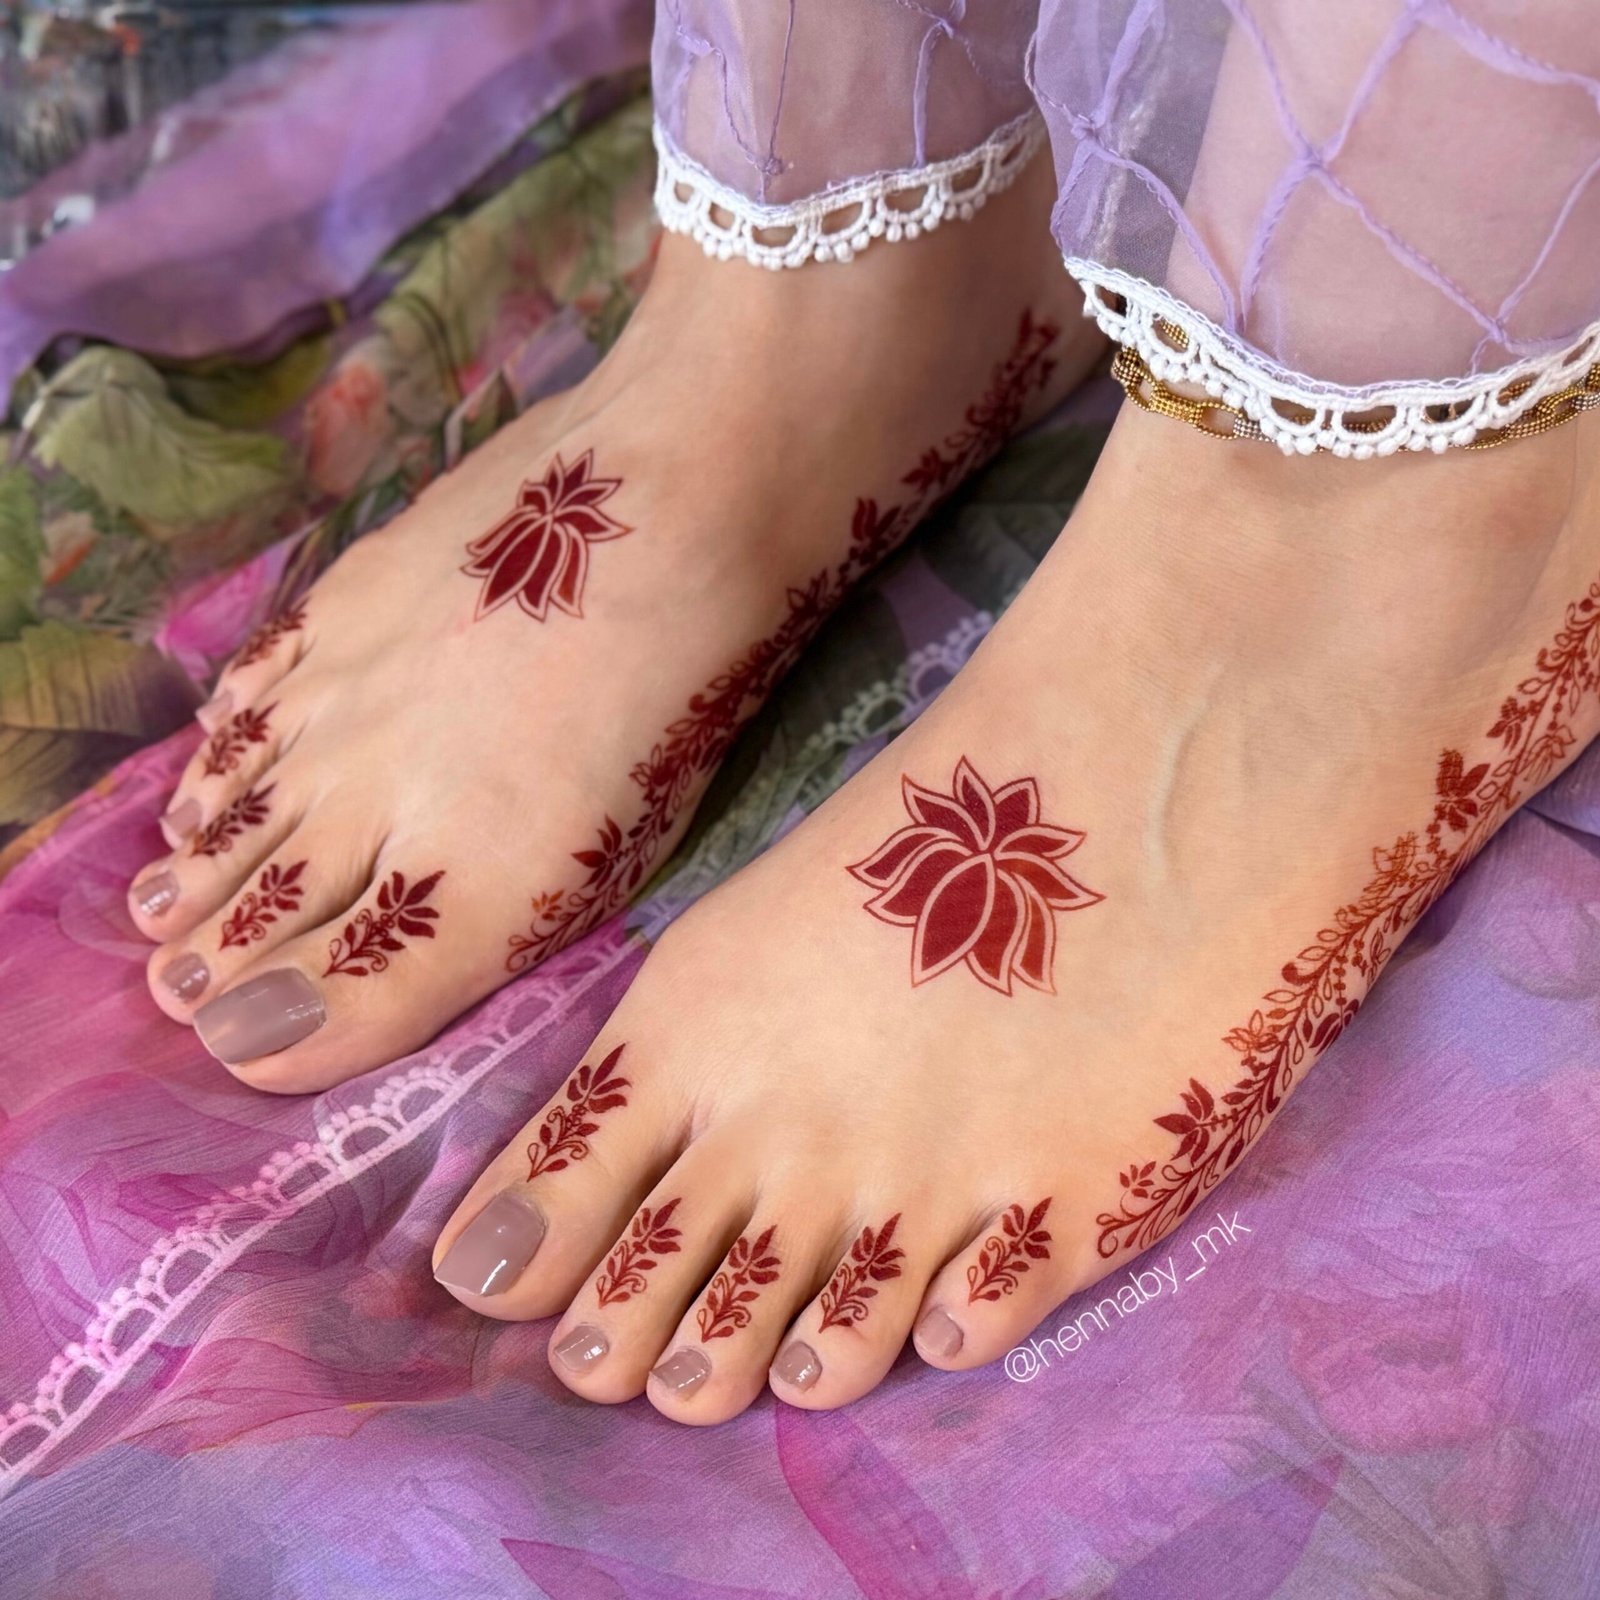
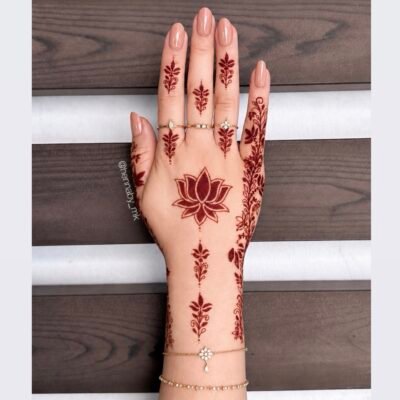
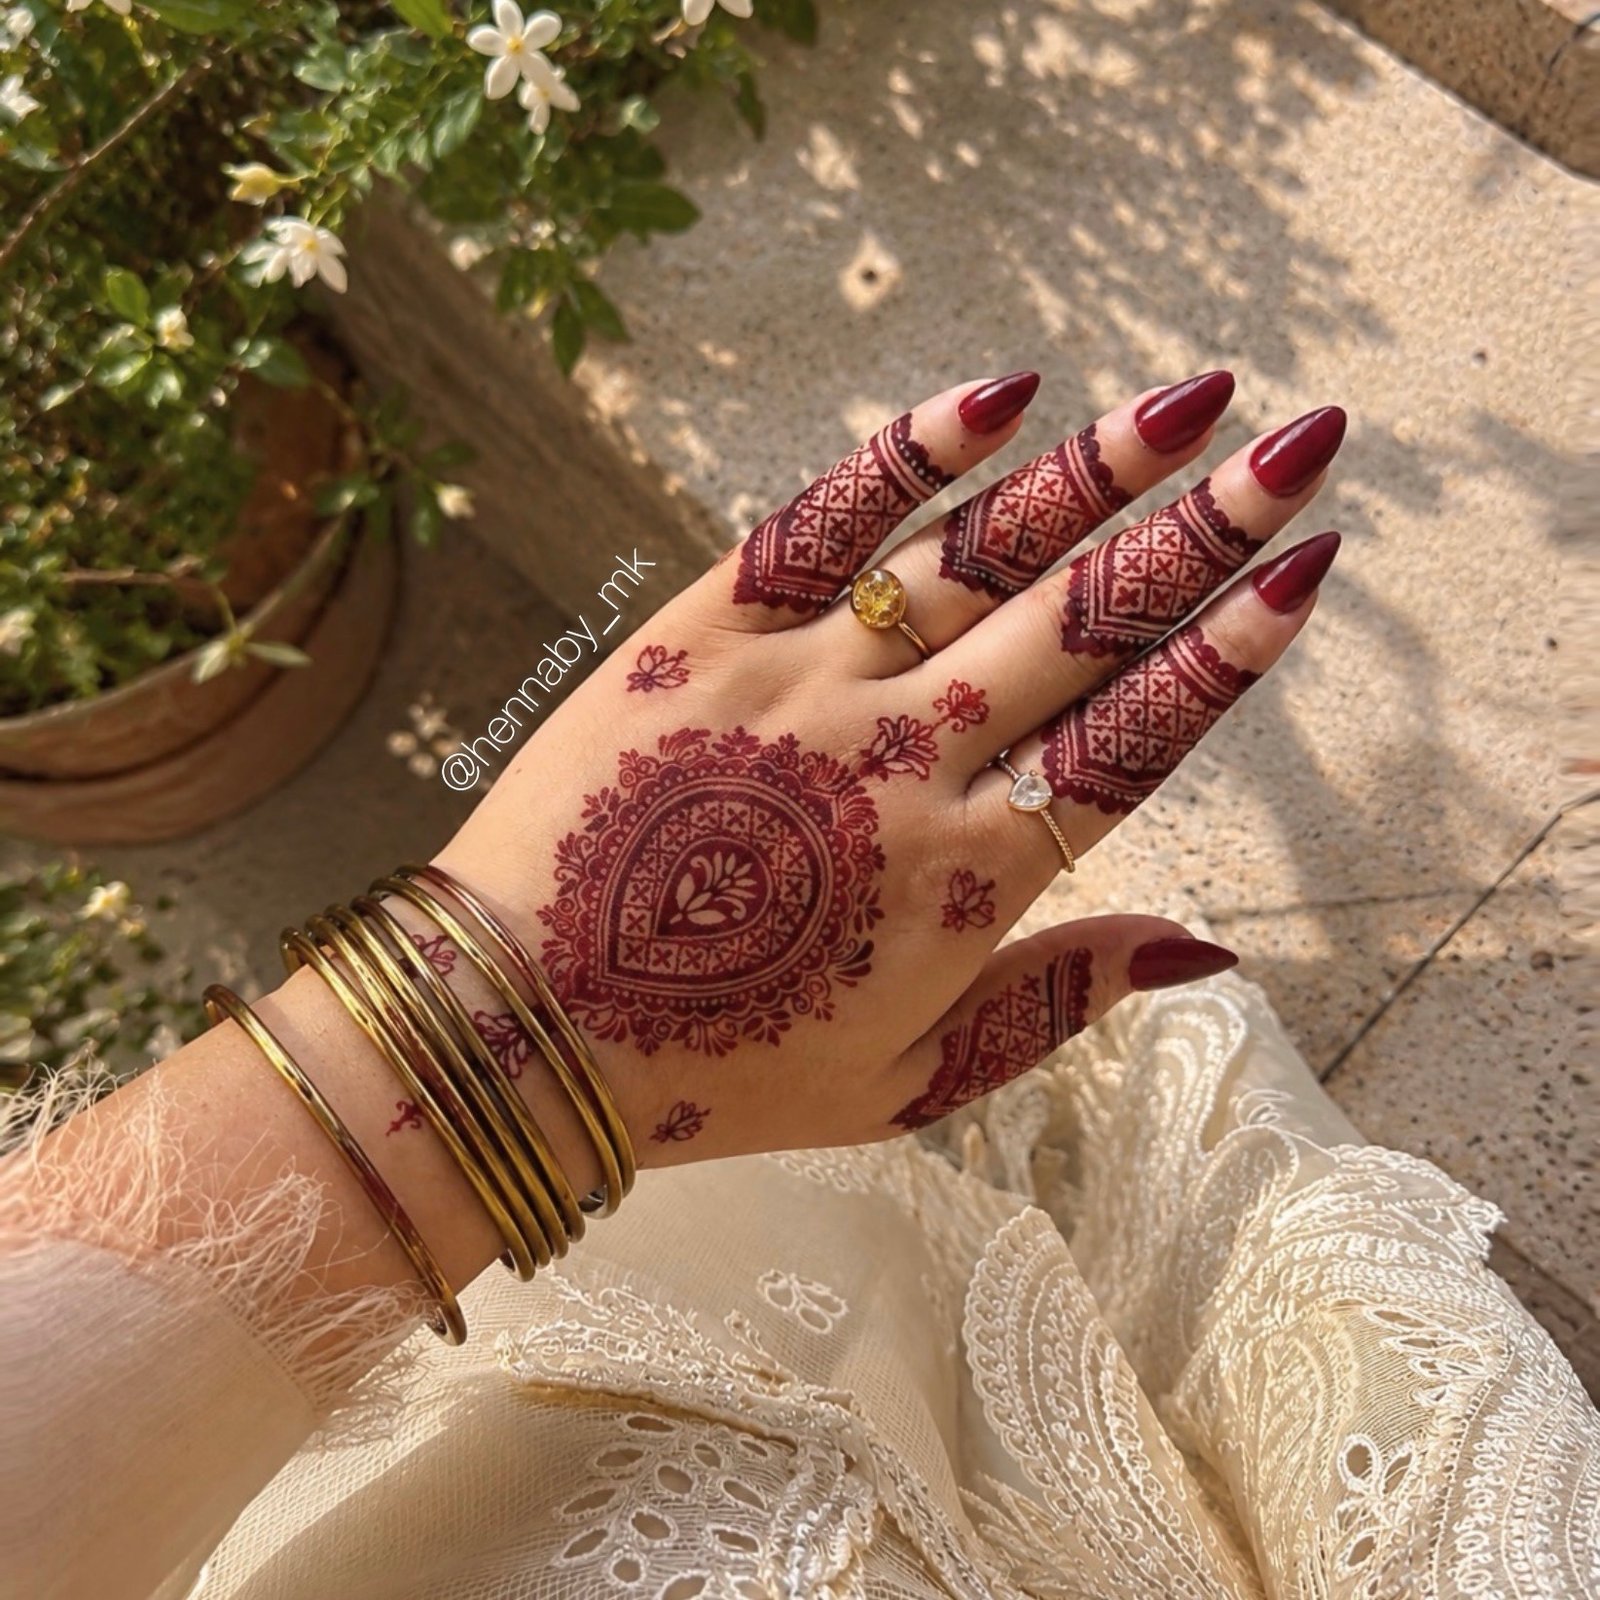
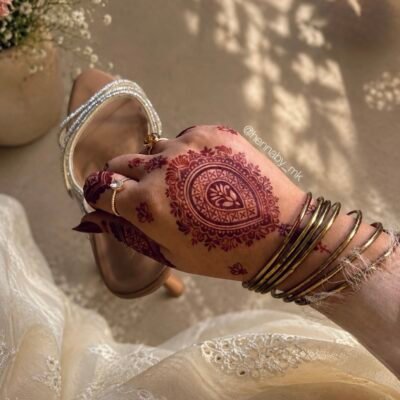
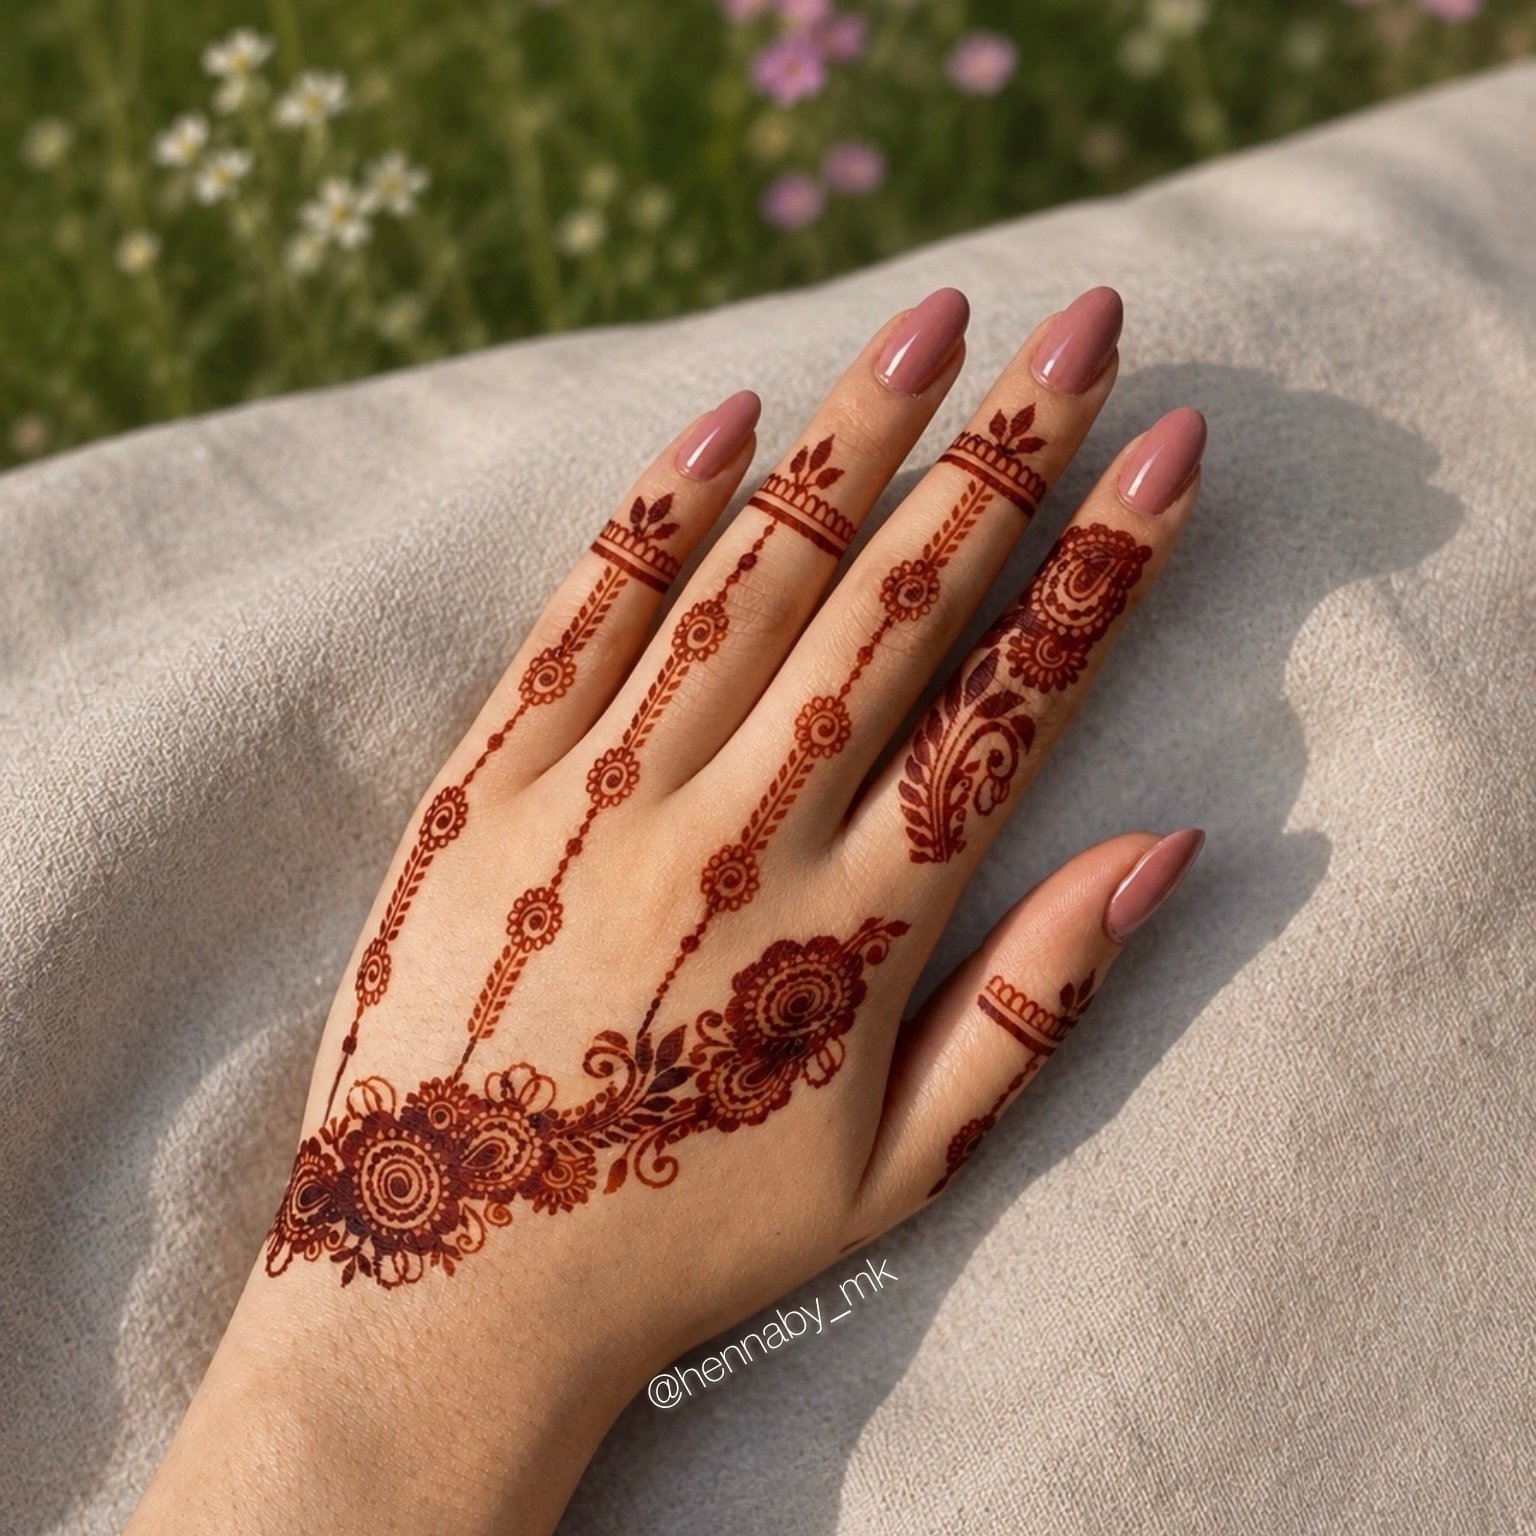
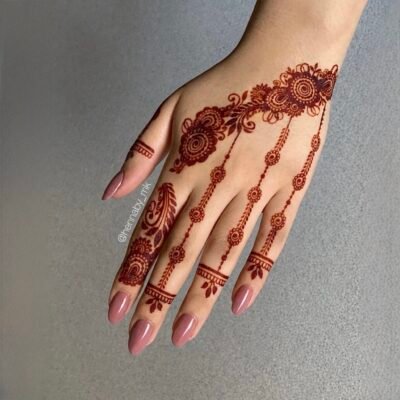
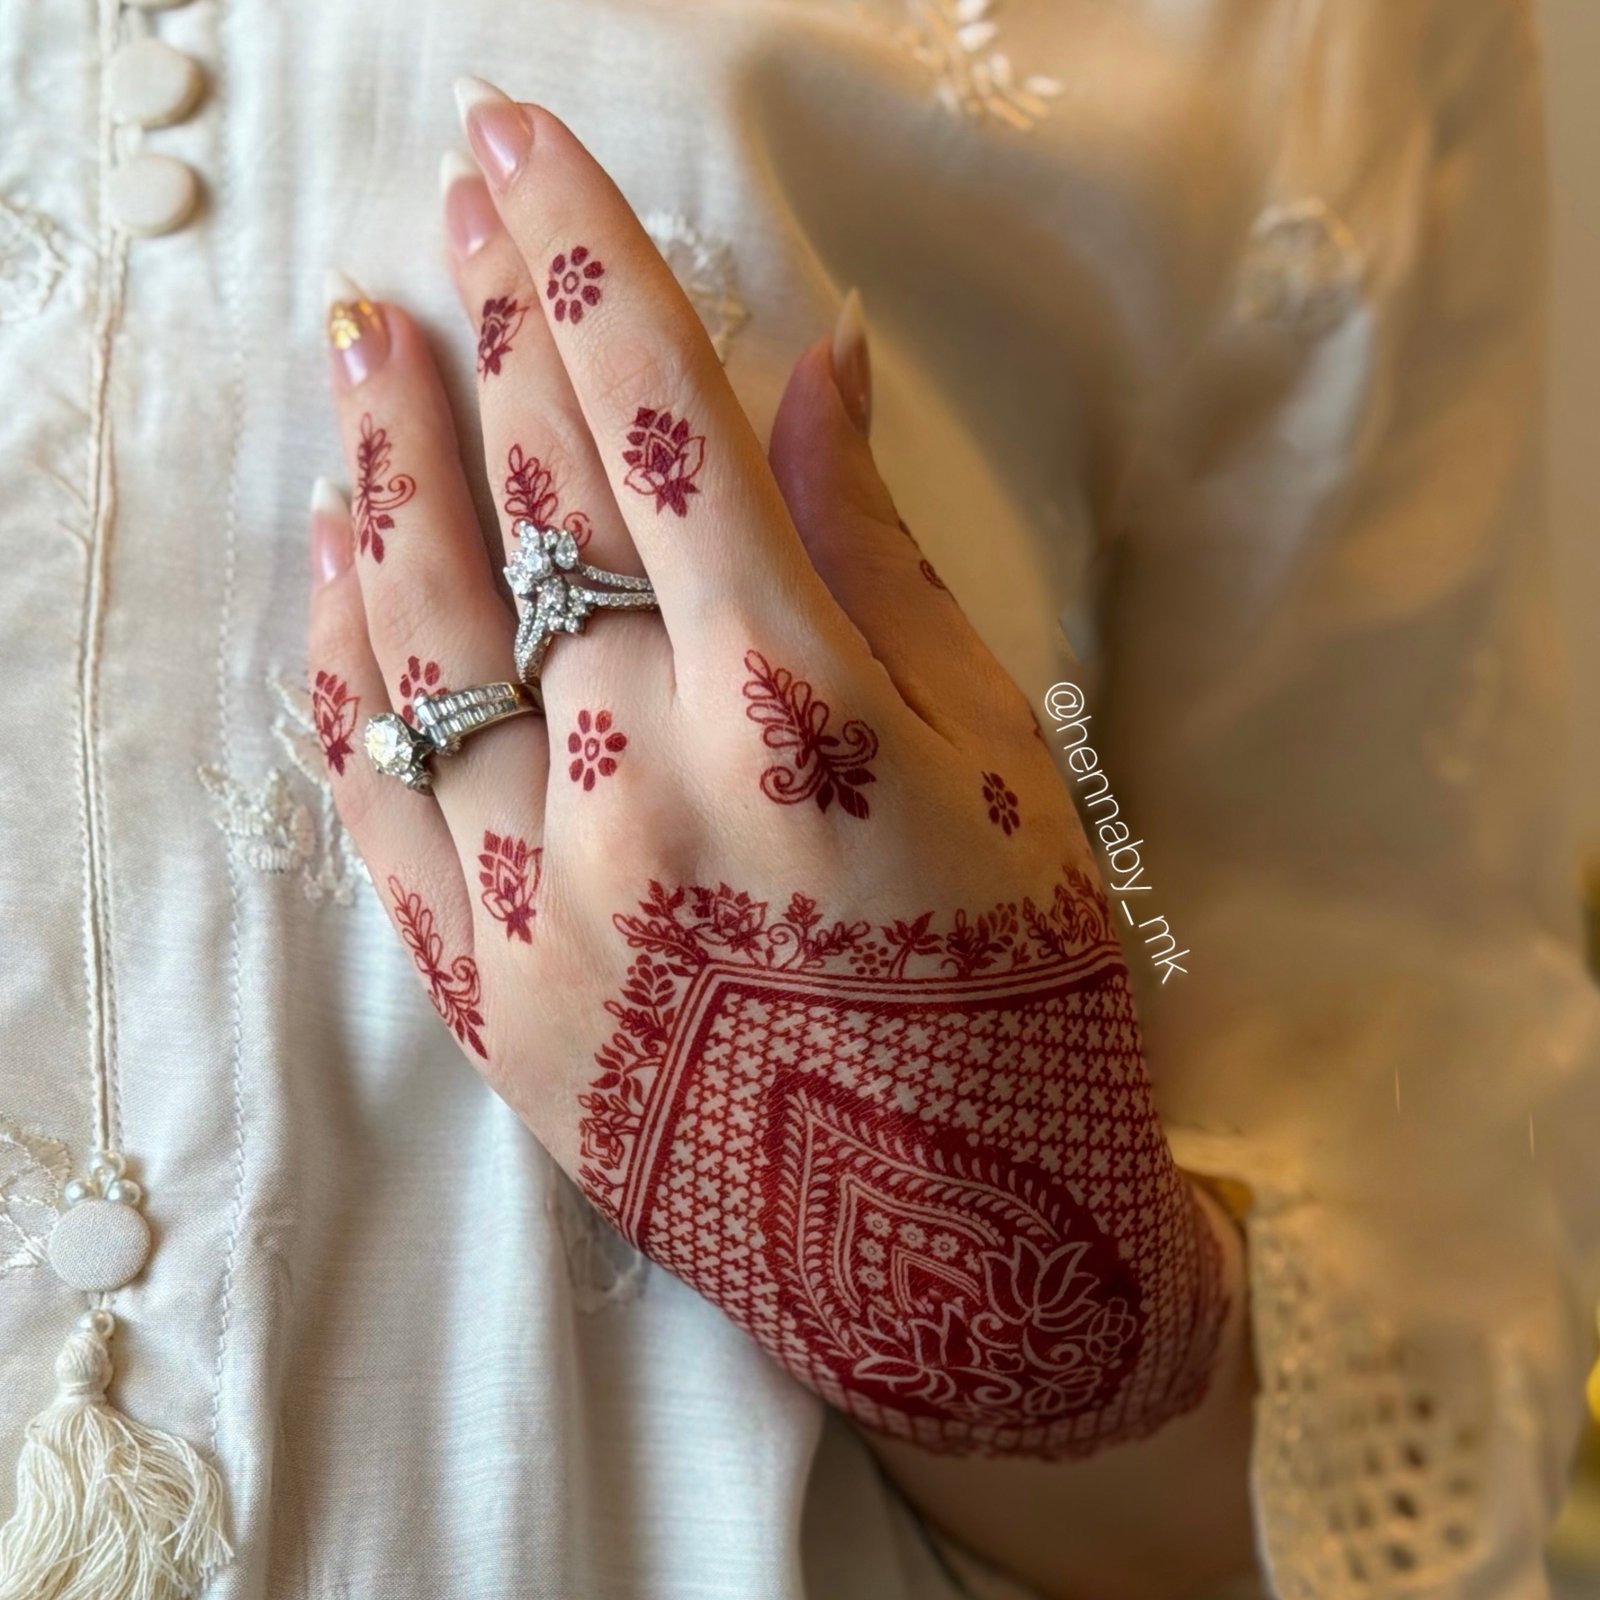
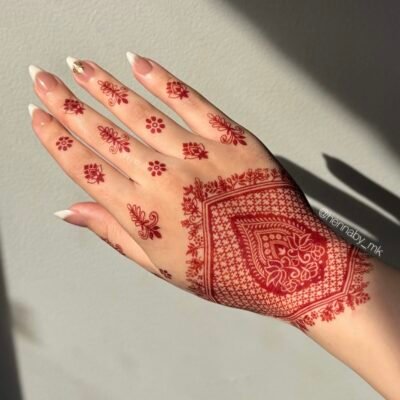
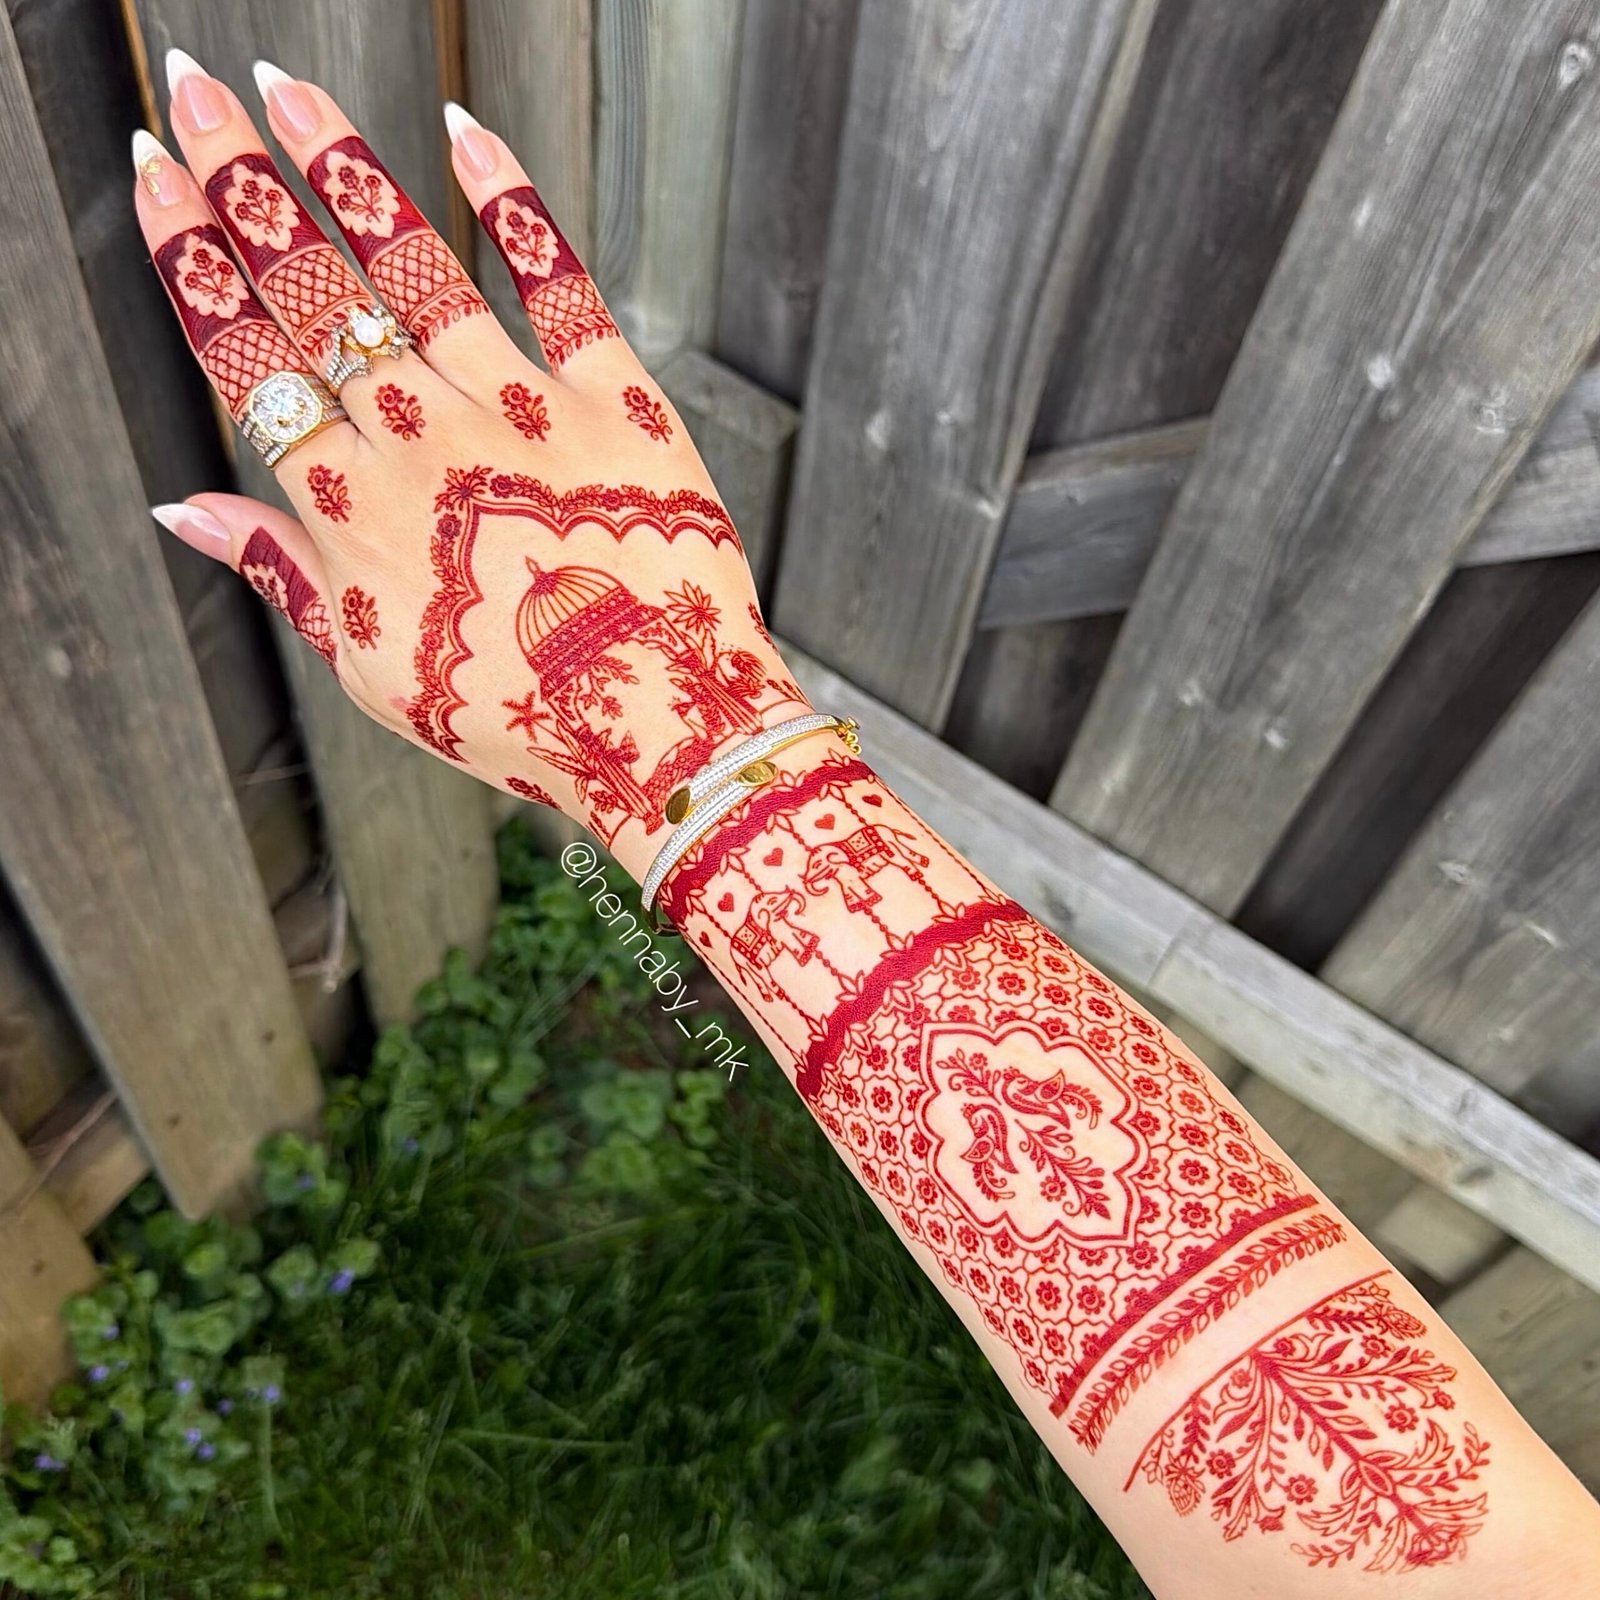
Continue ShoppingApplying Henna by MK tattoos and stencils is quick, clean, and effortless. Choose your guide below and follow the simple steps.
Follow the short tutorial before applying your design for the best result.
Make sure your skin is clean, dry, and free from lotion or oil before applying.
Position the design exactly where you want it, with the tattoo facing your skin.
Gently press a damp cloth or sponge over the tattoo and hold it in place.
Slowly peel away the backing paper and let your beautiful henna design shine.
Apply nail paint remover or rubbing alcohol to a cotton pad. For kids, use baby oil. Gently rub until it comes off.
Do not apply over lotion, oil, sweat, or makeup for a cleaner transfer.
Use steady pressure with a damp cloth so the design transfers beautifully.
Give the design a few minutes before touching, styling, or applying accessories.

After applying, avoid rubbing the area immediately. Let the design settle and keep the skin dry for the best finish.
Make sure your skin is clean, dry, and free from lotion or oil before applying.
Remove the stencil patch from the paper and stick it on your skin exactly where you want it.
Apply henna on top of the stencil and make sure the design is filled completely with no empty spaces.
Once the henna has completely dried, peel off the stencil gently using your fingers or tweezers.
To remove any remaining henna or sticky residue, wash immediately with water.
See the stencil tutorial before applying for a cleaner and prettier result.
Watch NowIf your skin is not 100% clean and dry, the stencil may not stick properly.
Carefully press down all corners so the stencil is sealed flat on the skin with no gaps.
Try not to move your hand too much. Keep it relaxed until the henna dries.
Apply a thin layer of henna. Too much paste can bleed through the stencil and blur the design.
Before removing the stencil, make sure the henna paste has fully dried.
Use henna paste that is not too runny, otherwise it may bleed through the stencil.
It is low maintenance and does not require much aftercare. Feel free to apply moisturizer or use water as you would with normal henna.
Watch the video tutorial again or contact us. We’ll help you apply your design with confidence.
Contact Us